Wednesday, December 29, 2010

Wordless Wednesday: My bloggy helper


Saturday, December 25, 2010

Merry Christmas!!!

I hope you all have a wonderful Christmas and a Happy New Year! Remember the true meaning of CHRISTmas, isn't about what's nestled under the tree, but the gift Christ gave to us all! 


Thursday, December 23, 2010

I spy with my little eye...

My aunt asked me after I got off work today to run over to a thrift store with her to check out some dining room tables. Everything in the store is 50% off. EVERYTHING!!!!  We didn't find any dining room tables that hit our fancy but, here are a few beauties I found walking around the store. Now you may think, uuummm those are hideous! And to the untrained eye that may be true. ;) But envision if you will... 


Sanded and refinished in a darker stain, or painted a crisp bright white.

Now I seriously was considering buying this, I literally asked the guy how much it was originally $44 but remember everything was half off so it was $22! I texted my husband to see if he liked it and told the guy I'd get back to him, while I was doing that another woman swooped in and bought it! OH SNAP! Gone right before my very eyes. Single tear* Oh well, it wasn't meant to be, plus by the time my husband got back to me, he ended up not liking it. {I even told him to look past the hideous paint job}. So I guess it ended up being for the best, but definitely learned my lesson. Strike when the iron is hot, or you'll miss out on an amazing opportunity.

 Dear woman who stole my dresser, you better strip that baby down to the original wood grain, stain it a beautiful deep walnut color, and line the drawers with cute wallpaper remnants or scrap booking paper. Because that's totally what I would have done. And if you don't, you don't deserve such a diamond in the rough!  

Reupholstered in a nice linen fabric.

Gorgeous secretary desk, spray paint handles with ORB {oil rubbed bronze} and stained a darker color.

Either of these would be beautiful painted a shade of white

Or these...

Oh goodness, I think I need to go back and do another walk through and take some of these home with me!

Tuesday, December 21, 2010

Easy-Peasy-Lemon-Squeezy Bisquick Chicken Pot pie


Easy Bisquick Chicken Pot Pie 


1 Pkg. frozen mixed vegetables
1 cup cooked chicken
1 can cream of chicken soup
1/2 cup of milk
1 egg


1. Preheat oven to 400 degrees Fahrenheit
2. Mix veggies, chicken,and soup together spread into bottom of a non greased 9 inch glass baking dish.
3. Mix remaining ingredients (Bisquick,milk,and egg) in a separate bowl and pour on top of chicken mixture.
4. Bake in oven for 30 minutes or until crust is golden brown.

Monday, December 20, 2010

It's beginning to look a lot like Christmas... {around the Little Miss Vintage house}

I have always enjoyed decorating for Christmas, ever since I was a little girl. This Christmas will be especially great because it is the first year we will be spending it in our first home and with baby e. I can't wait to have him wake up Christmas morning and open all his presents, even if he has no idea what they are for, being 11 months old and all. But none the less, we're still very excited. Here is a look at all the decorating going on at our house this year. Although I haven't quite finished all my holiday projects I thought I would still share what I have done so far. Enjoy!


The mantel 


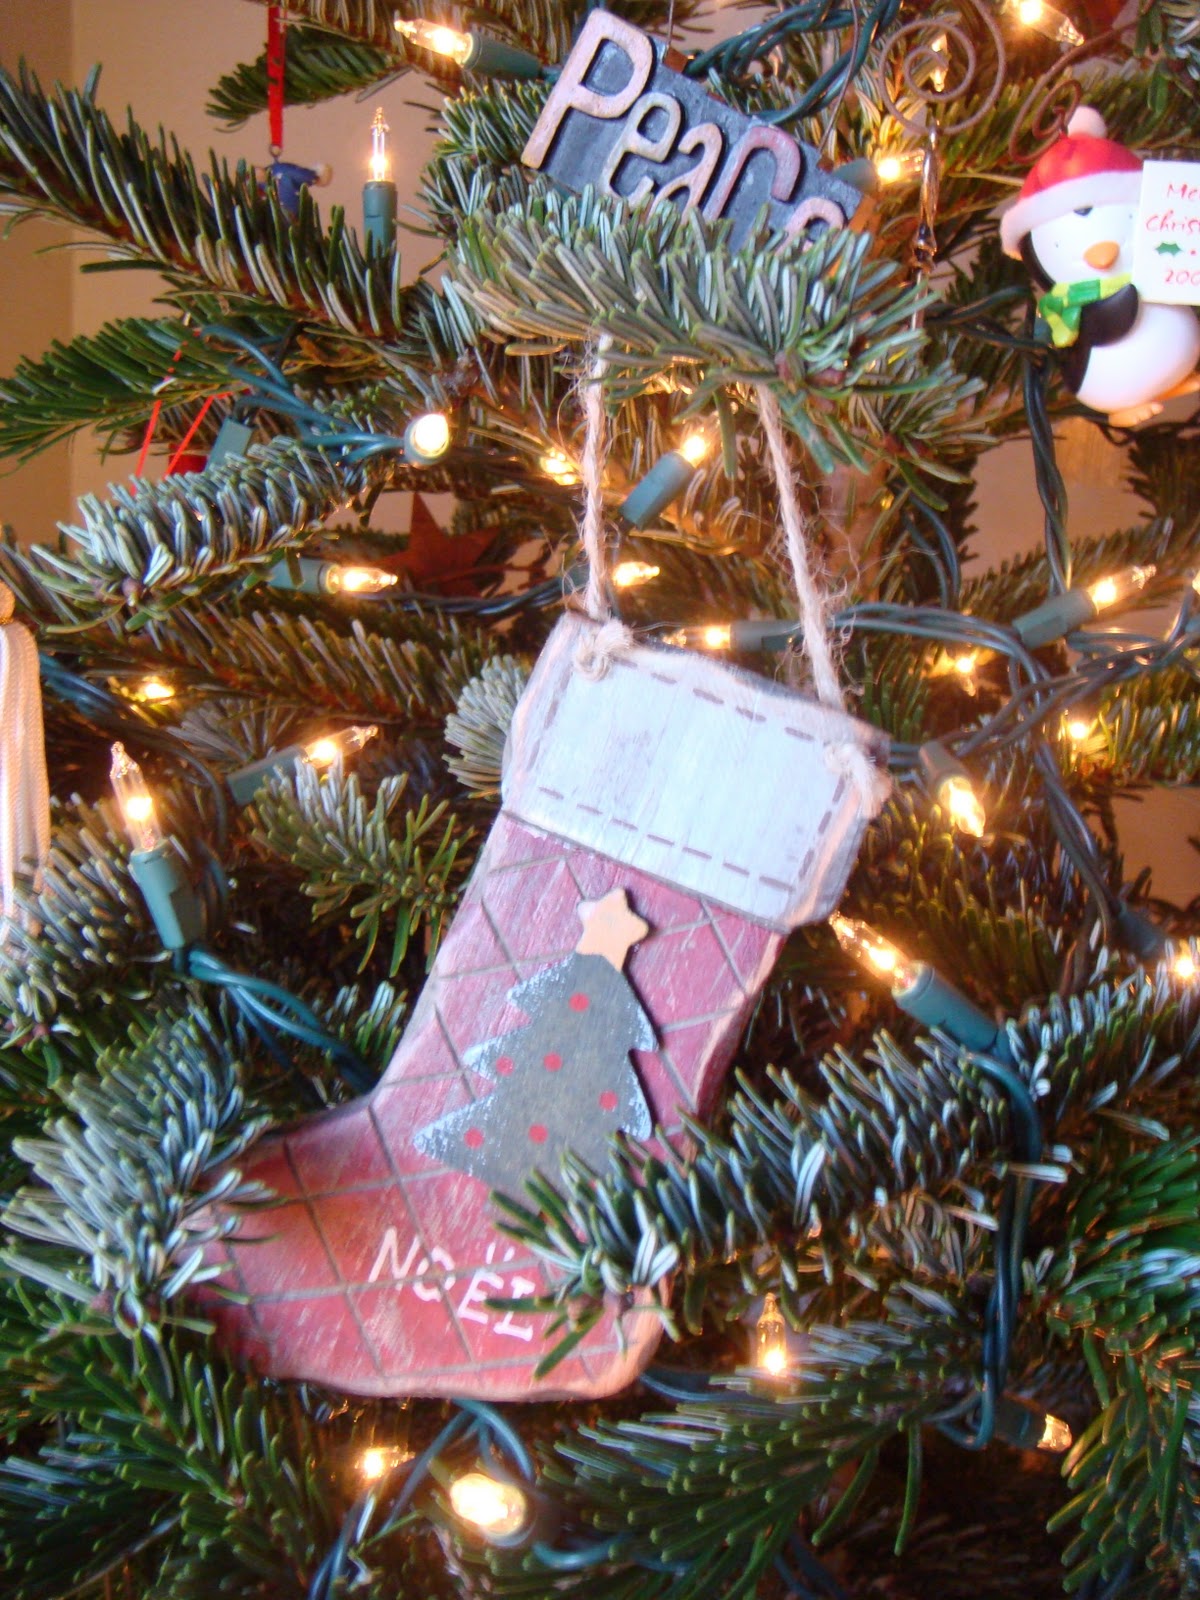
The Armoire done up nicely with the wreaths I made here.
 And of course, I couldn't forget to show off the tree. We have a very rustic and traditional theme to our Christmas decor, but I hope to change that come the day after Christmas. *wink, wink.


We bought this cutie after we found out we were having a little boy last Christmas time at the Gentle House Christmas Bazaar. 

I'm in love with these red sparkling ornaments, they remind me of Dorothy's ruby red slippers!


GO DUCKS!!!!!!! Bring home that national title!!!!


So there is a story behind this angel ornament, my husband grew up having a very tacky beautiful angel tree topper. Apparently he is very sentimental and insisted we get one, {he doesn't like my cute, rustic, willow branch, star, and berry number. I refuse to have an angel tree topper, don't get me wrong I love the symbolism and all, but have you seen a cute one? NO. So in honor of my husband I found this quirky felt ornament at a craft bazaar, and couldn't pass it up. The smile he had when I showed it to him was so worth it.  


Have a very Merry Christmas, and a blessed New Year. Jesus is the reason for the season! Love, The Little Miss Vintage Family

Monday, December 13, 2010

Pizza Casserole


Pizza Casserole 

yields: 8 servings

1 Tbsp. olive oil
1 medium onion, chopped
2 sweet yellow, red or green peppers, cut in large dices
2 medium size zucchini cut into rounds
2 cloves of garlic, chopped
3 cans ready diced tomatoes, drained. (salt free)
1 lb. chicken/pork sausage, cooked
1 Tsp. dried Italian seasoning
1 Tsp. salt
1/2 Tsp. pepper
1/4 cup grated Parmesan cheese
2 cups mozzarella cheese
1 tube refrigerated bread sticks

1. Heat oven to 350 degrees Fahrenheit. Grease a 9x13 baking dish. Heat oil in large skillet over medium- high heat. Add onion and peppers, cook for 5 minutes. Add zucchini and garlic; cook for 5 minutes until barely tender. 2. Add tomatoes, sausage, Italian seasoning, salt, and pepper; cook until somewhat dry, 5 to 7 minutes. 3. Add 2 tbsp. Parmesan cheese, spoon half of into prepared baking dish. 4. Top with 1 cup mozzarella. Add remaining tomato mixture. 5. Arrange bread sticks on top in a lattice pattern. Sprinkle with the remaining cheeses. Bake at 350 degrees Fahrenheit for 25 minutes.

Monday, December 6, 2010

Philly Chili Cheese Dip


Philly Chili Cheese Dip

2 cans Nalley's Chili (I use turkey chili, less fat)
1 16 oz. container of Philadelphia cream cheese, softened
2 cups Tillamook medium cheddar cheese
2 tbsp. chopped cilantro (optional)


Spread cream cheese onto bottom of a pie plate; top with chili and cheddar cheese. Bake at 400 degrees Farenheit for 20 minutes or until cheese is melted and dip is heated thoroughly. Sprinkle with cilantro.


Serve with chips or ritz crackers. Enjoy!


Saturday, December 4, 2010

Pinecone wreaths take that, Ballard {part 1}

 So if you have been following my blog lately, then you'll know my relationship with Ballard Designs is a little on the rocks. Instead of wallowing in my own sorrows, I've decided to be proactive. Revenge is a dish best served cold, right? Prepare Ballard for the cold shoulder. My first project, was inspired by these Ballard Design's wreaths I saw in their latest holiday catalog. The large pine cone wreaths retail at $99! 


{THEIR'S}


{MINE}


You can bet your bottom, I didn't pay anywhere close to that for my knock off project! Here is the run down of my d.i.y. holiday project.


2 Foam floral wreaths: $2.00 {dollar tree}
2 Cinnamon scented pine cones: $8.00{walmart}
       *Jute twine: free!{dollar tree}
*Polka dot fabric: another freebie!{ fat quarters at craft warehouse}
Brown ribbon: $1.97 {walmart}
TOTAL:  $11.97!!!! {for two wreaths}
*{items purchased from earlier projects}
That is a savings of $186.03. :) Oh Ballard, I told you to be careful. Muuahhaaaa! {evil laugh}


*HOT TIP: if your going to use jute twine I suggest finding one that is thick in diameter. I ran out of my fatter twine and had to use some skinny stuff and it took FOREVER!!! Learn from my mistake, thin is not in!

Since, I'm going to great lengths {literally, excuse the wordy post} I might as well do a little tutorial on how to make these wreaths. 
* My first attempt at a tutorial so hopefully it makes sense!


Step 1: Tie a knot with your jute twine around your wreath, then proceed to start wrapping your wreath with the twine. You'll want the twine to be wrapped very close together so that the green foam doesn't show through. When you've covered your entire wreath and are back at the starting point make another knot to tie it off. You can either glue down the straggler string that's left after the knot or weave it back into the wreath.

{Block out a good chunk of time to do step 1, watch your favorite t.v. show, or wait for the kiddo's nap time.}

Step 2: Now that you've wrapped your wreath you can start hot gluing your pine cones. There really is no right or wrong way to do this, just slap on some glue and arrange it where you like. I chose not to cover the entire wreath with pine cones, but you can certainly do that and it will still look just as great.
Step 3: Tie a ribbon at the top of your wreath in order for it to hang on a wall.


{You can also flock your pine cones to make it look more like the Ballard wreath, I left mine as is so I could keep them up year round, if I want.}

Step 4: If you choose to make the exact wreath I made, you will need ribbon or fabric to make a bow for the top of your wreath. Glue down ribbon or fabric, and your done! That's it, you have a beautiful wreath {or two} to hang in your home all year long.


Now you might say HEY! Those don't look exactly like the Ballard wreaths. Yeah, yeah, yeah. I know they aren't exactly the same. But I'm an individual, I like my stuff to reflect me and these wreaths do just that. They are one of a kind, and I like it that way! Oh, oops, excuse me, while I hop down from my soap box now. :)


 I hope you enjoy making your own holiday wreaths this year! Enjoy!

My next Ballard Designs vengeful inspired project will be a pine cone topiary. Keep a look out for that upcoming post.


LinkWithin

Related Posts Plugin for WordPress, Blogger...